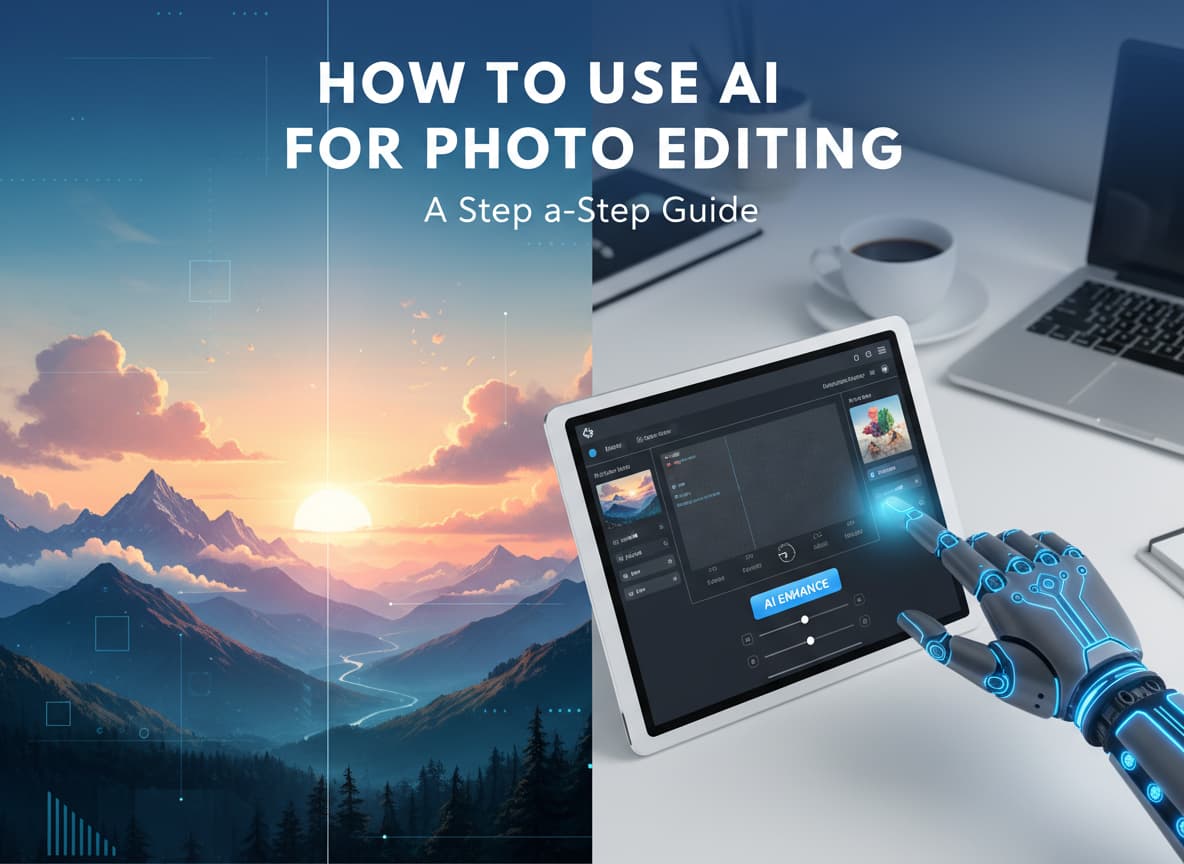
How to Use AI for Photo Editing: A Step-by-Step Guide
- Why Use AI for Photo Editing?
- Step 1: Choosing the Right AI Tool for You
- Step 2: How to Remove Unwanted Objects (Cleanup)
- Step 3: How to Upscale and Fix Blurry Photos
- Step 4: Using "Generative Fill" to Change Reality
- Step 5: Changing Backgrounds Instantly
- Step 6: Styles and Filters (The Artistic Touch)
- Best Practices and Ethical Tips
- Conclusion: The Future is in Your Hands
The way we edit photos has changed forever. In the past, if you wanted to remove a stranger from your vacation photo or fix a blurry picture, you needed expensive software and years of training. You had to learn about “layers,” “masks,” and “clone stamps.” It was hard, slow, and frustrating.
But in 2025, Artificial Intelligence (AI) has fixed this. Now, editing a photo is as easy as typing a text message or clicking a single button. AI tools can see and understand your photo just like a human does. They know the difference between a cat and a dog, a cloud and a mountain. This means you can just tell the computer, “remove the background,” and it does it perfectly in seconds.
This guide is for everyone. Whether you are a student, a small business owner, or just someone who loves posting on Instagram, this article will teach you how to use AI for photo editing step-by-step. We will use simple English and clear instructions so you can start right away.
Why Use AI for Photo Editing?
Before we jump into the steps, let’s look at why this is such a game-changer.
- Speed: Tasks that used to take 30 minutes now take 30 seconds.
- Creativity: You can add things to your photos that were never there, like a new sky or a different outfit.
- Quality: AI can fix “broken” photos by sharpening blurry faces or fixing bad lighting.
- Cost: Many of the best tools are now free or very cheap.
Step 1: Choosing the Right AI Tool for You
Not all AI editors are the same. Some are for professionals, and some are for quick edits on your phone. In late 2025, here are the three main categories you should know about.
1. The “All-in-One” Beginners (Best for Social Media)
These are usually web-based or mobile apps. They are easy to use and often have free versions.
- Canva: Famous for its “Magic Studio.” Great for making posters, posts, and simple edits.
- Picsart: A powerful mobile app that has amazing AI filters and replacement tools.
- Fotor: excellent for one-click enhancements and removing backgrounds.
2. The Professional Powerhouses (Best for Photographers)
If you want the highest quality and don’t mind paying a subscription.
- Adobe Photoshop (with Generative Fill): The king of photo editing. It now lets you type what you want to see, and it appears.
- Luminar Neo: Designed strictly for photographers. It is great for fixing landscapes and portraits automatically.
3. The “Pure AI” Generators (Best for Fun & Art)
These are for changing images completely or creating new ones.
- Google Gemini (Nano Banana Model): Incredible for fast, creative edits and understanding complex instructions.
- Midjourney: While mostly for creating art, it now has features to edit and “repaint” parts of your photos.
Action Step: If you are new, start with Canva or Fotor. They are free to try and work right in your browser.
Step 2: How to Remove Unwanted Objects (Cleanup)
We have all taken a perfect photo, but there is a trash can in the background or a tourist walking behind you. In the old days, this was a nightmare to fix. Now, it is the easiest AI task.
The “Magic Eraser” Technique
Most AI tools call this “Magic Eraser,” “Object Removal,” or “Cleanup.”
- Upload Your Photo: Open your chosen app (like Canva or cleanup.pictures) and upload your image.
- Select the Tool: Look for an icon that looks like an eraser or a band-aid.
- Brush Over the Object: Use your mouse or finger to “paint” over the thing you want to remove.
- Tip: Make your brush slightly bigger than the object. You want to cover the edges completely.
- Let AI Work: Click “Remove” or “Generate.” The AI analyzes the pixels around the object and fills in the empty space to match the background.
- Check the Result: usually, it looks perfect instantly. If it looks a bit weird, just undo and try brushing again with a smaller brush.
Step 3: How to Upscale and Fix Blurry Photos
Have you ever taken a photo at night that turned out grainy? Or maybe you have an old family photo from 2005 that looks tiny and pixelated on your new phone. AI “Upscalers” can invent new pixels to make the image sharp.
The Enhancement Workflow
- Choose an Enhancer: Tools like Topaz Photo AI, Remini, or Upscale.media are the best for this.
- Upload the Low-Quality Image: The worse the quality, the more impressive the result will be.
- Select “Upscale” or “Enhance”:
- 2x or 4x: You will usually see options to make the image 2 times or 4 times bigger.
- Face Enhancement: Make sure this button is turned ON if your photo has people in it. The AI knows what a human eye should look like and will reconstruct it.
- Wait for Processing: This might take a few seconds because the computer is doing a lot of math.
- Download: Save the new version. You will notice that text is readable, leaves on trees are sharp, and noise (grain) is gone.
Warning: Don’t overdo it. Sometimes AI can make faces look a little “plastic” or fake if the setting is too high. Start with a medium setting.
Step 4: Using “Generative Fill” to Change Reality
This is the most exciting feature of 2025. Instead of just removing things, you can add things that were never there. This is famously available in Adobe Photoshop, but now other apps have it too.
How to Add Objects (e.g., Putting Sunglasses on a Dog)
- Select an Area: Use a selection tool (lasso or square box) to circle the area where you want the new object. For this example, circle the dog’s eyes.
- Type a Prompt: A text box will appear. Type exactly what you want. For example: “Cool aviator sunglasses, reflection of a beach.”
- Click Generate: The AI will give you 3 or 4 options.
- Pick the Best One: Cycle through the options. The AI automatically handles the lighting and shadows so the sunglasses look like they are actually sitting on the dog’s face.
How to Expand an Image (Uncropping)
Did you take a vertical photo but now you need a horizontal one for a YouTube thumbnail?
- Crop Outwards: Pull the edges of your canvas to make the picture bigger, leaving white empty space on the sides.
- Select the Empty Space: Highlight the empty white areas.
- Leave Prompt Blank: Just click “Generate.”
- Watch the Magic: The AI will look at your photo and extend the world. It will finish the mountains, extend the road, or add more trees to fill the space perfectly.
Step 5: Changing Backgrounds Instantly
Changing a background used to take hours of careful cutting. Now, it is a one-click process. This is perfect for selling products online or making professional profile pictures.
The Background Swap Method
- Open a Product Photo: Let’s say you are selling a pair of shoes.
- Click “Remove Background”: Almost every AI editor has this button now. The background disappears, leaving just the shoes.
- Use “AI Backgrounds”: Instead of leaving it white, look for a feature called “AI Background” or “Scene Generation.”
- Describe the Scene: Type: “Wooden table, sunlight, morning coffee vibe, soft focus.”
- Generate: The AI will place your shoes on a photorealistic wooden table with perfect shadows. It looks like you rented a professional studio.
Step 6: Styles and Filters (The Artistic Touch)
Finally, you can change the entire “mood” of a photo. This is not just a simple Instagram filter; this is a style transfer.
- Upload a Reference: Some AI tools let you upload a picture of a style you like (e.g., a watercolor painting or a Cyberpunk city).
- Apply to Your Photo: The AI analyzes the colors and textures of the reference and paints your photo in that style.
- Adjust Intensity: You can control how strong the effect is. You can turn a selfie into a cartoon, a sketch, or a 3D character.
Best Practices and Ethical Tips
Just because you can edit anything, doesn’t mean you always should. Here are some rules for the road in 2025.
- Label Your AI Images: If you post a photo that is heavily edited with AI (like a fake background), it is good manners (and sometimes the law) to say it is “AI Generated.”
- Don’t Fake News: Never use AI to create fake events or put people in places they never were for bad reasons.
- Keep It Natural: The best AI editing is invisible. If people can tell you used AI, you probably used too much. Try to keep skin textures real.
- Check the Hands: AI still struggles with fingers sometimes. Always check the hands in your photos to make sure they don’t look alien!
Conclusion: The Future is in Your Hands
AI photo editing is not about cheating; it is about removing the barriers between your imagination and the screen. You no longer need to worry about technical skills or expensive cameras. All you need is a creative idea and the right tool.
Start small. Try removing a simple object today. Tomorrow, try changing a background. By next week, you will be creating images that look like they belong in a magazine. The technology is moving fast, so the best way to learn is to just dive in and start playing.
Happy editing!


Post Comment