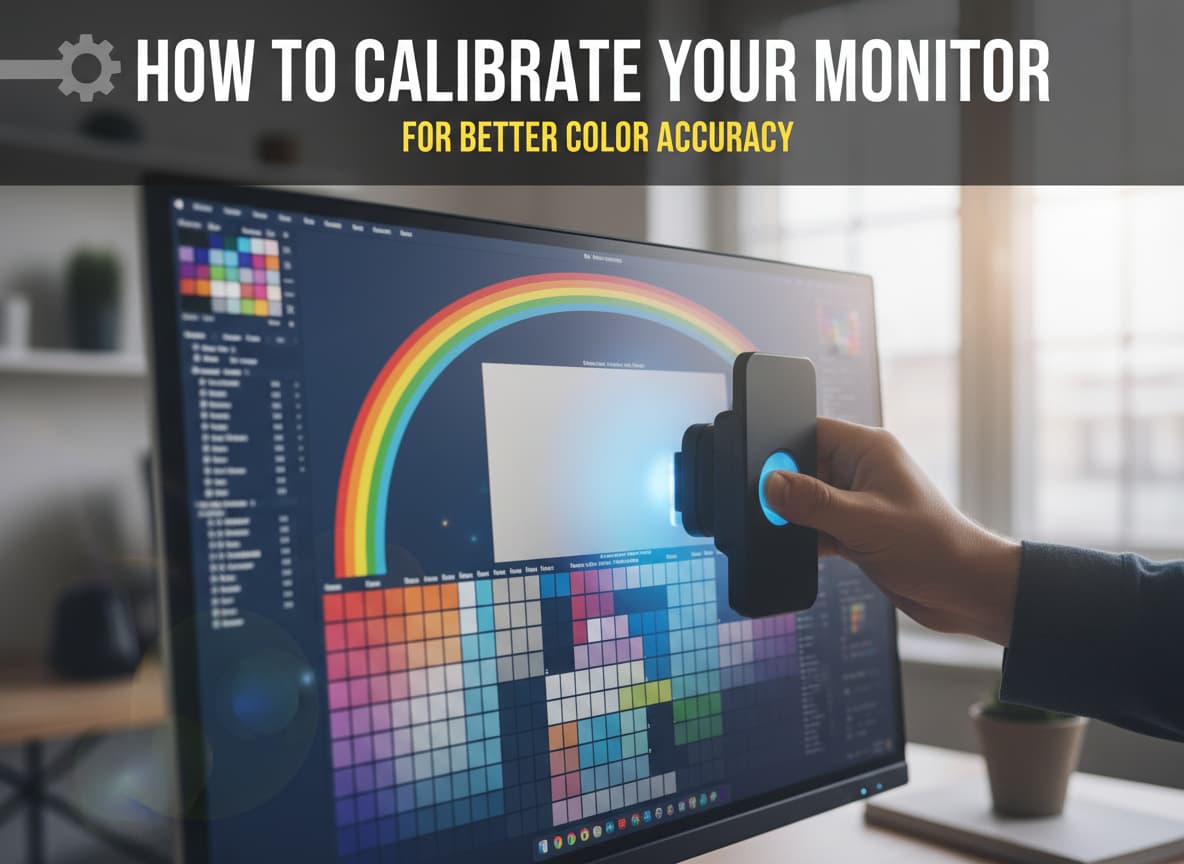
How to Calibrate Your Monitor for Better Color Accuracy
- What Is Monitor Calibration?
- Why You Should Care About Color Accuracy
- Important Steps Before You Start
- Key Terms You Need to Know
- Method 1: How to Calibrate on Windows (Free)
- Method 2: How to Calibrate on macOS (Free)
- Method 3: Using Free Online Tools
- Method 4: The Professional Way (Hardware)
- Common Mistakes to Avoid
- How Often Should You Calibrate?
- Conclusion
Have you ever bought a bright red shirt online, only to open the package and find out it is actually dull maroon? Or maybe you edited a beautiful photo of your family, but when you printed it, everyone looked orange?
The problem is usually not your eyes. The problem is your computer monitor.
Most computer screens do not show true colors right out of the box. They are often set to be “too blue” or “too bright” to look flashy in the store. This means the colors you see on your screen are lying to you. To fix this, you need to do something called monitor calibration.
This might sound like a difficult technical task for scientists, but it is actually quite simple. You can do it at home for free in just a few minutes.
In this article, we will explain exactly what calibration is, why it matters, and give you a step-by-step guide to fixing your screen on both Windows and Mac computers.
What Is Monitor Calibration?
Think of your monitor like a musical instrument, such as a guitar or a piano. If a guitar is out of tune, the song sounds bad, even if you play the notes perfectly.
Your monitor is the same. It needs to be “tuned” to show standard colors. “Calibration” is simply the process of adjusting your screen’s settings—like brightness, contrast, and color balance—so that they match a global standard.
When your monitor is calibrated, “white” looks like a true sheet of paper, not a blueish light. “Black” looks like deep darkness, not a washed-out gray.
Why You Should Care About Color Accuracy
You might think, “I am not a professional photographer, so why do I need this?” The truth is, accurate colors help everyone, not just pros.
1. Better Online Shopping If your screen is too bright or the colors are off, you cannot trust what you see in online stores. Calibrating your screen helps ensure that the sofa or dress you buy is actually the color you think it is.
2. Safer for Your Eyes Many monitors come from the factory with the brightness turned up to 100%. This is like staring directly into a lightbulb. It causes eye strain and headaches. Calibration lowers this to a comfortable, natural level.
3. Better Gaming and Movies Movies and video games are designed by artists who want to create a specific mood. If your screen is too dark, you might miss enemies hiding in the shadows. If it is too washed out, a scary movie might look silly instead of terrifying.
4. Printing Photos If you ever print photos for a family album, calibration is essential. Without it, your printed photos will often look darker and muddier than they did on your glowing screen.
Important Steps Before You Start
Before you touch any settings, you need to prepare your monitor. If you skip these steps, your calibration will be wrong.
1. Warm Up the Monitor Electronics change slightly as they get hot. Turn on your monitor and let it run for at least 30 minutes before you start. This ensures the backlight is stable and the colors are consistent.
2. Clean the Screen It sounds obvious, but dust and fingerprints can change how you see light. Wipe your screen gently with a microfiber cloth.
3. Fix Your Room Lighting The light in your room affects how your eyes see the screen.
- Do not calibrate in a pitch-black room.
- Do not have direct sunlight hitting the screen.
- Try to have normal, soft room lighting that you usually work in.
4. Use the Native Resolution Make sure your monitor is running at its highest possible resolution (usually 1920×1080 or 4K). If the screen is blurry, you cannot judge the sharpness or contrast correctly.
Key Terms You Need to Know
During this process, you will see some weird words. Here is what they mean in simple English:
- Gamma: This controls how the computer handles shadows. If Gamma is too low, the image looks bleached and white. If it is too high, shadows look like black blobs with no detail.
- Brightness: This controls how dark the “blacks” are on your screen. It sounds confusing, but the Brightness setting is actually about making sure dark areas are not too gray.
- Contrast: This controls the “whites.” It determines how bright the lightest parts of the image can get without losing detail.
- White Point (Color Temperature): This decides if white looks “warm” (yellow/orange) or “cool” (blue). The standard for computers is called D65, which is a neutral daylight color.
Method 1: How to Calibrate on Windows (Free)
Windows 10 and Windows 11 have a fantastic hidden tool built right in. You do not need to download anything.
Step 1: Open the Tool
- Click the Start button or the magnifying glass icon.
- Type “Calibrate display color” into the search bar.
- Click on the result to open the tool.
Step 2: Follow the Instructions The tool is very friendly. It will show you a “Good” example image and “Bad” examples. Your goal is to use the sliders to make your screen look like the “Good” example.
Step 3: Adjust Gamma You will see an image with dots in the middle of circles.
- Move the slider up or down until the dots in the center almost disappear.
- If you can see the dots clearly, the Gamma is wrong. They should blend into the circle.
Step 4: Adjust Brightness and Contrast For this step, you need to use the physical buttons on your monitor itself (the buttons on the side or bottom of the screen).
- Brightness: You will see a picture of a man in a dark suit with a black “X” in the background. Adjust your monitor’s brightness buttons until you can just barely see the shirt and the “X.” The background should not be gray.
- Contrast: You will see a picture of a man in a white shirt. Adjust the contrast buttons until the shirt is bright white, but you can still see the wrinkles and buttons clearly. If the shirt becomes a solid white blob, lower the contrast.
Step 5: Adjust Color Balance You will see gray bars on the screen. Use the red, green, and blue sliders on the screen to remove any “tint.” The gray bars should look purely gray, not pinkish or greenish.
Step 6: Save the Calibration Click “Finish.” Windows will now use this new “profile” every time you turn on your computer. You can toggle back and forth to see the difference.
Method 2: How to Calibrate on macOS (Free)
Apple computers are famous for having great screens, but they still need calibration. Apple calls its tool the “Display Calibrator Assistant.”
Step 1: Open System Settings
- Click the Apple Logo in the top-left corner.
- Select System Settings (or System Preferences).
- Click on Displays.
Step 2: Find the Calibrator
- Look for the Color Profile setting on the right side.
- Click “Customize” or simply look for the Calibrate… button.
- Secret Trick: On some older Macs, you have to hold down the Option key on your keyboard while clicking “Calibrate” to unlock the “Expert Mode.” This gives you more control.
Step 3: Adjust the White Point The assistant will guide you. The most important step here is the “White Point.”
- Move the slider until the white area looks neutral to your eyes.
- It is highly recommended to choose the standard setting, which is D65 (or 6500K). This is the standard for almost all internet content.
Step 4: Target Gamma Macs usually use a standard Gamma of 2.2. Unless you have a very specific reason to change it, keep the Gamma at 2.2. This ensures television shows and photos look correct.
Step 5: Save Profile Give your new profile a name (like “My Calibrated Profile 2025”) and save it. Your Mac is now tuned.
Method 3: Using Free Online Tools
If you do not want to use the system settings, or you just want a quick check, you can use websites designed to test your monitor.
The Lagom LCD Monitor Test This is one of the most famous free websites. It shows you a series of specific images to check your black levels, white saturation, and viewing angles.
- Go to the website and look at the “Black Level” page. You should be able to see the first few dark squares. If they are all black, your monitor is too dark.
- Look at the “White Saturation” page. You should be able to see the checkerboard pattern in the bright squares. If they are solid white, your contrast is too high.
Photo Friday This is a simple tool specifically for brightness. It shows a grayscale bar with different shades of black and white. It helps you quickly adjust your brightness so you don’t lose shadow details.
Method 4: The Professional Way (Hardware)
The methods above rely on your human eyes. The problem is that human eyes are easily tricked. If you have been staring at a blue screen all day, “white” will look different to you than it does in the morning.
For 100% accuracy, professionals use a robot eye called a Colorimeter.
What is a Colorimeter? It is a small device that hangs over the front of your screen. It plugs into your USB port. It reads the colors coming out of your screen and automatically builds a perfect color profile.
Who Needs This?
- Professional Photographers.
- Graphic Designers.
- Video Editors.
Popular Tools
- Datacolor Spyder: This is a very popular consumer model. It costs around $150. It is easy to use and works on both Mac and Windows.
- Calibrite Display: Another top brand (formerly X-Rite). It is known for high accuracy.
If you buy one of these, you just install their software, hang the device on the screen, and wait 5 minutes. The hardware does all the work for you.
Common Mistakes to Avoid
Even with good tools, you can mess up your calibration if you aren’t careful. Avoid these traps:
1. “Dynamic Contrast” Mode Many modern monitors and TVs have a feature called “Dynamic Contrast” or “Eco Mode.” This automatically makes the screen brighter or darker depending on what you are watching.
- Turn this OFF. You cannot calibrate a screen that keeps changing its own settings. You want the brightness to stay locked.
2. Setting Brightness Too High A common mistake is thinking “brighter is better.” Most screens are capable of being much brighter than you need. For a standard room, a brightness of 120 nits is recommended. If you don’t have a tool to measure “nits,” just aim for a brightness that looks like a piece of white paper on your desk. It should not glow painfully.
3. Trusting “Factory Calibration” Some expensive monitors claim to be “Factory Calibrated.” While this is a good start, shipping and time can change the monitor. Also, the factory doesn’t know the lighting in your specific room. You should still do a basic check yourself.
How Often Should You Calibrate?
Monitors drift over time. As the backlight gets older, the colors shift slightly.
- Casual Users: Once every 6 months is fine.
- Professionals: Should calibrate at least once a month.
If you buy a new lamp for your room or move your desk to a new window, you should recalibrate immediately because the light in your environment has changed.
Conclusion
Calibrating your monitor is the single best upgrade you can give your computer for free. It doesn’t cost a penny to use the built-in Windows or Mac tools, and the difference is instant.
Suddenly, your photos will look richer, your movies will show more detail, and your eyes will feel less tired at the end of the day.
Do not settle for the random settings the factory chose. Take control of your screen today. Go open that calibration tool and see what you have been missing!


Post Comment