How to Scan Documents Using Your iPhone or Android
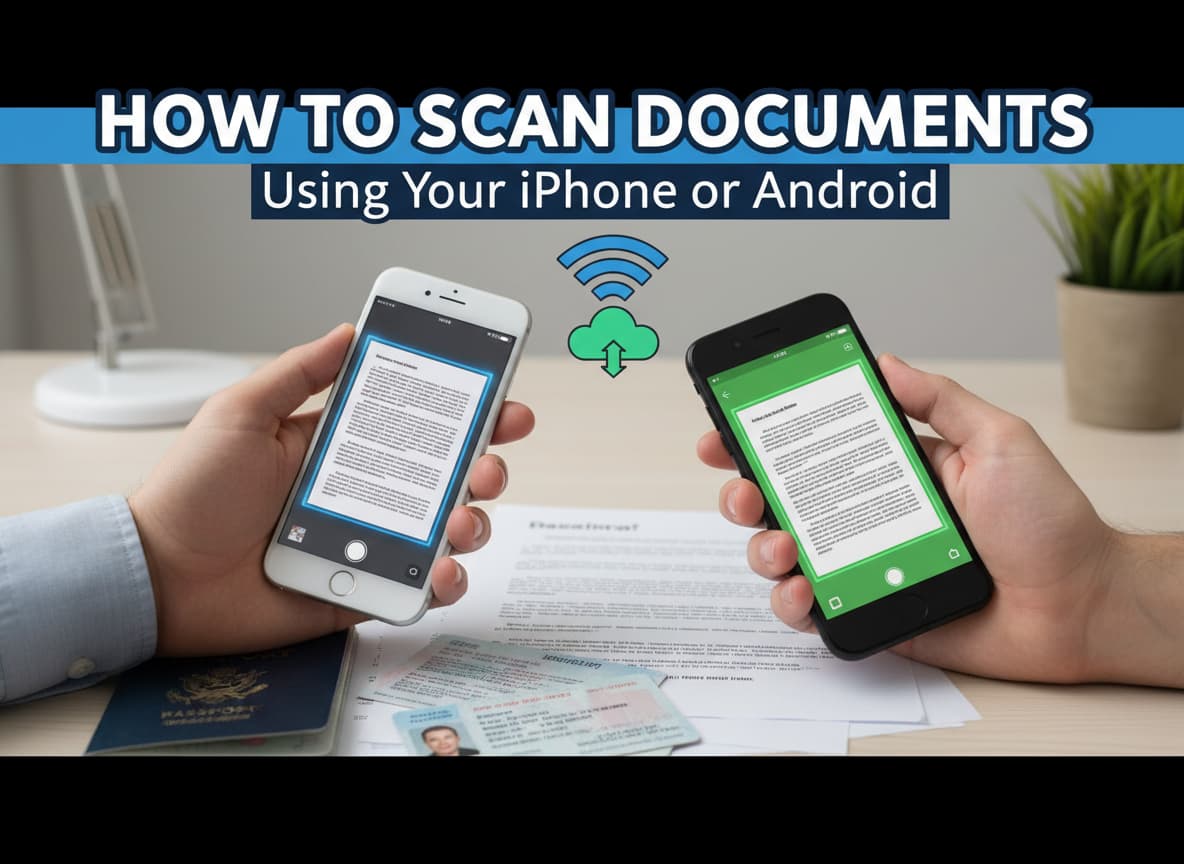
In the past, if you wanted to turn a paper document into a digital file, you needed a big, bulky machine called a scanner. It was slow, loud, and often annoying to use. Today, that technology is outdated. You have a powerful scanner right in your pocket: your smartphone.
Whether you need to save a receipt, send a contract, or digitize your old photos, your phone can do it in seconds. Modern phones use advanced cameras and smart software to make your documents look crisp, clear, and professional.
This guide will show you the best and easiest ways to scan documents using an iPhone or an Android device. We will look at the built-in tools you already have and the best free apps to download.
Method 1: Scanning on iPhone (The Native Way)
If you have an iPhone, you do not need to download any new apps. Apple has built a professional scanner directly into the operating system.
Using the Notes App
The “Notes” app is the most popular way to scan on an iPhone. It is fast and saves your scans directly into a note.
- Open the Notes App: Find the icon that looks like a notepad and tap it.
- Create a New Note: Tap the icon in the bottom-right corner to start a fresh note.
- Tap the Camera Icon: You will see a small camera icon above the keyboard. Tap it.
- Select “Scan Documents”: A menu will pop up. Choose the option that says “Scan Documents”.
- Point and Shoot: Hold your phone over the paper.
- Auto Mode: If your hand is steady and the lighting is good, the yellow box will appear, and the phone will automatically take the picture for you.
- Manual Mode: If it doesn’t take the photo automatically, tap the round shutter button. You can then drag the corners of the box to fit your paper perfectly.
- Save: Tap “Keep Scan” if you are happy with it. You can keep scanning more pages if you have a multi-page document. When you are finished, tap “Save”.
Using the Files App
If you want to save your document directly to your iCloud Drive or phone storage (instead of a note), use the “Files” app.
- Open the Files app (blue folder icon).
- Tap the three dots (…) in the top-right corner.
- Select “Scan Documents” from the menu.
- Follow the same scanning steps as the Notes app. Your file will be saved as a PDF directly in your folder.
Method 2: Scanning on Android (The Native Way)
Android users also have excellent built-in tools. While different Android phones (like Samsung or Pixel) look slightly different, almost everyone has the Google Drive app.
Using Google Drive
Google Drive is the standard way to scan on Android. Recently, Google updated this feature to make it even better, replacing older apps like “Google Stack”.
- Open Google Drive: Launch the app on your phone.
- Tap the Camera Icon: In the bottom right, you will see a camera icon or a “+” button. Tap it.
- Select “Scan”: If you tapped the “+”, choose “Scan” from the menu.
- Capture the Document: Point your camera at the paper. A blue line will outline the document.
- Auto Capture: It will automatically snap the photo when it sees the document clearly.
- Edit and Save:
- You can crop, rotate, or use filters (like “Black & White” to make text clearer).
- Tap “Done” or “Save”. The app will ask you to name the file and choose which folder to save it in.
Using a Samsung Galaxy Phone
If you have a Samsung phone, it is even easier because the scanner is built into your main camera app.
- Open your Camera app.
- Point it at a document.
- Wait for a yellow “T” icon or a “Tap to Scan” button to appear on the screen.
- Tap it. The phone will take a picture, straighten it out, and remove any shadows automatically.
Method 3: The Best Third-Party Apps
Sometimes the built-in tools are not enough. Maybe you need to edit the text inside the scan (OCR) or you want more advanced features. Here are the best apps you can download.
1. Adobe Scan (Best for Quality)
Adobe Scan is widely considered one of the best free scanners. It is excellent at cleaning up documents—removing wrinkles, shadows, and coffee stains.
- Smart Feature: It automatically recognizes text (OCR). This means you can search for words inside your scanned PDF later.
- Best For: Contracts, receipts, and documents you need to search through later.
2. Microsoft 365 (The New “Lens”)
For years, Microsoft Lens was the favorite app for many people. However, Microsoft is retiring the standalone Lens app in late 2025.
- The Solution: You should now use the Microsoft 365 (Office) app or the Microsoft 365 Copilot app. These apps have the scanning technology built-in.
- Best For: People who work with Word, Excel, or OneNote. You can scan a table on paper, and it will turn it into an Excel spreadsheet automatically.
3. Genius Scan (Best for Privacy)
If you want a simple, fast app that doesn’t force you to sign in, Genius Scan is a great choice.
- Privacy First: It does almost all the processing on your phone, not in the cloud.
- Best For: Quick scans when you are in a hurry.
Pro Tips for the Perfect Scan
Even with the best app, a bad photo will result in a bad document. Follow these simple rules to get a crystal-clear scan every time.
1. Use High Contrast
Place your white paper on a dark background. If you put a white paper on a white table, the camera will struggle to find the edges. A dark wood table or a black mousepad works perfectly.
2. Find Good Light
Shadows are the enemy.
- Don’t stand directly under a light, or your phone will cast a shadow on the paper.
- Do stand near a window or use a lamp from the side. Natural light is always best.
3. Flatten the Paper
If your paper is wrinkled or folded, the text will look warped. Smooth it out as much as possible before scanning. Some apps like Adobe Scan are better at fixing curved pages (like from a thick book) than others.
Managing Your Digital Documents
Once you have scanned your files, you need to keep them organized so you don’t lose them.
- Name Your Files Immediately: Do not leave your file named “Scan_001.” Rename it to something descriptive like “Tax_Receipt_March_2025” or “Insurance_Contract.”
- PDF vs. JPEG:
- Save as PDF for documents with text (letters, contracts).
- Save as JPEG (Image) for photos or ID cards.
- Cloud Storage: Set your app to automatically upload to a cloud service like Google Drive, iCloud, or Dropbox. This ensures that even if you lose your phone, you do not lose your important documents.
Conclusion
Scanning documents is no longer a chore that requires office equipment. Whether you use the Notes app on your iPhone or Google Drive on your Android, you have a powerful tool at your fingertips.
By following the steps in this guide, you can unclutter your life, go paperless, and ensure your important information is always safe and accessible. So, grab that pile of receipts on your desk and start scanning today!


Post Comment